

This page provides structured installation guidance for JBE LED dimmers aimed at licensed electricians, installers and experienced DIY users. It summarises wiring approaches, common scenarios and troubleshooting so you can complete reliable installations faster.
Safety first:
- Always isolate mains power and verify with a suitable test instrument before working on any wiring.
- Follow local electrical regulations and standards that apply in your region.
- Only qualified personnel should work on fixed wiring and switchboards.
- Use appropriate cable ratings, terminations and enclosures for the environment.
- If anything in these guides conflicts with applicable standards or your engineering judgement, follow the standard and seek advice.
These guides complement, but do not replace, the detailed datasheets and product instructions supplied with each JBE dimmer.
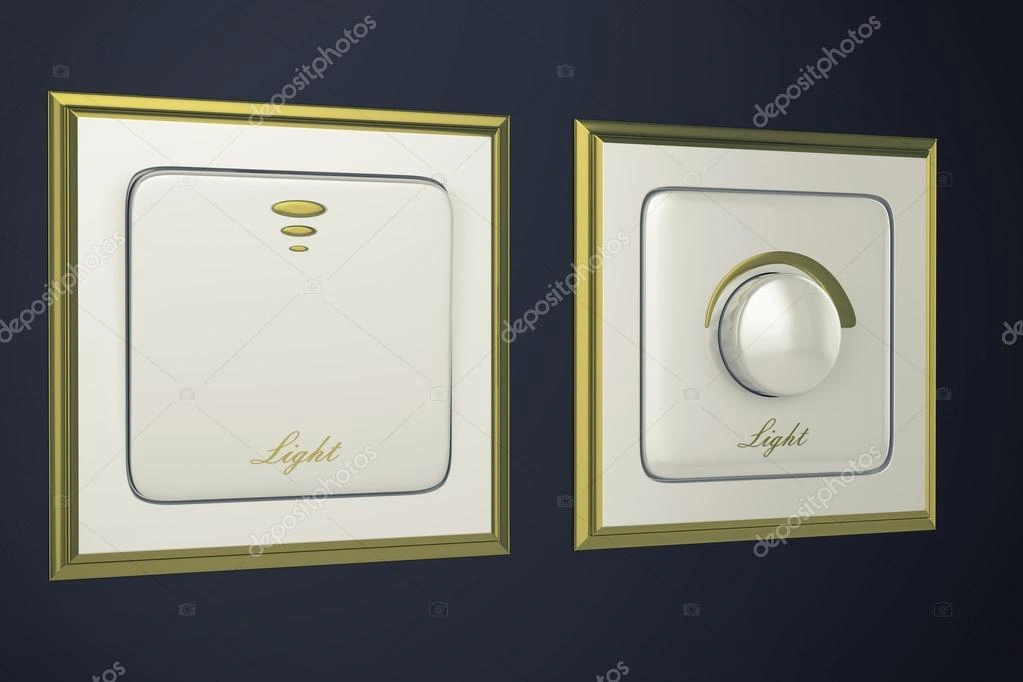
Selecting the correct JBE dimmer model depends on the control signal, load type, installation environment and required dimming performance. Use the checklist below as a quick pre-install sanity check before committing to wiring.
Confirm the following before you start:
- Control method available from the controller or wall station (0–10 V, 1–10 V, or 0–20 mA).
- Mains supply characteristics and earthing arrangements.
- Total LED driver load (current, power and inrush) and minimum load at low dim levels.
- Environmental conditions: residential, cinema/theatre, poultry/agricultural or industrial.
- Physical mounting constraints: wall box, DIN rail, or panel mount.
| JBE dimmer model | Control signal | Typical applications | Load notes |
|---|---|---|---|
| 0-10V 240V AC Dimmer | 0–10 V control, mains output | General LED lighting, industrial and commercial | Confirm LED drivers are 0–10 V compatible and total load within dimmer rating. |
| 1-10V wall dimmer | 1–10 V wall control | Residential and architectural, small commercial | Check wall box depth and wiring path to LED drivers or control gear. |
| 0-20mA High Precision Dimmer | 0–20 mA current control | Specialty, industrial, process and low-level control | Ensure drivers accept current input and verify polarity and scaling. |
| 0-10V Mains Poultry Dimmer | 0–10 V control, mains output | Poultry sheds and agricultural buildings | Consider long cable runs, aggressive environments and ventilation. |
| 0-10V neutral input flicker-free dimmer | 0–10 V neutral-referenced | Cinemas, theatres, high-end residential | Use where ultra-smooth low-level dimming and minimal flicker are critical. |


For each dimmer model, start with the wiring overview and terminal identification, then match your project to one of the common wiring topologies shown in the diagrams. Work step-by-step, verifying polarity, earth continuity and control signal ranges before energising the load.
Where possible, commission one channel or area at a time, confirming correct dimming behaviour before scaling up to the full system.
Always read the specific installation instructions and datasheet supplied with the dimmer in addition to the guidance on this page. Those documents contain the authoritative electrical ratings, connection diagrams and safety notes for each model.
Use this layout when a single JBE dimmer controls one group of fittings:
- Isolate mains and confirm dead.
- Connect active feed to the dimmer input and switched active from the dimmer output to the LED drivers.
- Terminate neutral and earth in accordance with local rules.
- Connect the control signal (0–10 V, 1–10 V or 0–20 mA) from the controller or wall station to the dimmer control terminals.
- Verify polarity and observe any specified cable screening practices.
Where two or more control points are required:
- Use approved multi-way switching hardware for mains switching where applicable.
- For low-voltage control lines, wire multiple wall stations in accordance with the control manufacturer’s instructions.
- Keep control cabling segregated from mains where required.
- Terminate all control lines cleanly at the JBE dimmer, avoiding stubs where possible.
For control-system integration:
- Confirm that the controller output type matches the dimmer input (voltage or current, and range).
- Use common reference or neutral as specified for the particular dimmer model.
- Route analogue control lines away from noisy power cabling and VSD outputs.
- Document wiring clearly for future maintenance and commissioning.
When replacing existing dimmers or upgrading to JBE models, confirm that the existing LED drivers are compatible with the selected dimmer type and that the wiring can be adapted safely. Pay particular attention to shared neutrals, borrowed actives and legacy switching arrangements that may not suit modern dimming approaches.
Where the existing wiring is unclear or non-compliant, rectify the wiring first before commissioning the new dimmer.
| Symptom during installation | Checks to perform | Notes |
|---|---|---|
| No output / lights stay off | Confirm mains present at input, verify output wiring, check control signal is in the active range, and ensure any enable inputs are correctly set. | Test with a known-good fitting or driver where possible. |
| Lights stuck at full brightness | Check control wiring polarity, confirm the control signal can reach minimum level, and look for shorted control lines. | On 0–10 V systems, ensure the controller can pull down towards 0 V. |
| Limited dimming range | Verify LED driver compatibility, minimise mixed driver types on one channel, and check that minimum and maximum trim (if fitted) are correctly set. | Some drivers have higher minimum dim levels by design. |
| Visible flicker at low levels | Shorten or shield long control cables, separate from noisy power cabling, and confirm supply voltage stability. | For critical environments like cinemas, use the neutral input flicker-free model where appropriate. |
| Audible noise from fittings or drivers | Confirm loading is within specification, avoid overloading, and check for loose terminations. | A small amount of driver noise can be normal; excessive noise warrants further investigation. |
If symptoms persist after working through the checks above, or if you encounter unusual wiring topologies, non-standard control equipment or critical loads, pause the installation and gather details before proceeding.
Document the symptoms, take clear photos of the wiring and switchboard, and note model numbers of dimmers, drivers and controllers. This information will greatly speed up support.


For projects involving large channel counts, mixed control systems, unusual loads or critical environments such as theatres and poultry facilities, plan the dimming topology before you attend site. Use the resources above to confirm model choices, ratings and wiring approaches.
Where doubt remains, involve JBE Hitech early so that any open questions can be resolved before hardware is installed.
